Integrating SCOM 2016 with Operations Management Suite (OMS)

Many companies still run data center on-premises, although many do have services running in the cloud. This is the so-called hybrid data center, a crucial part comes to the monitoring, we want to monitor both on-premises and in the cloud.
With System Center Operations Manager(SCOM) we can extend the monitoring capabilities to the cloud and make use of the Microsoft Operations Management Suite(OMS).
OMS comes as a part of Microsoft Azure, in this guide I will show you how to integrate SCOM with OMS in Microsoft Azure.
Contents
Requirements
Creating the OMS Workspace in Microsoft Azure
Setting up the integration in SCOM
Requirements
System Center Operations Manager 2016
Allow outgoing traffic from the SCOM console, SCOM management server(s), monitor agent(s) to the OMS services.
Creating the OMS Workspace in Microsoft Azure
Before we can set up the integration from SCOM to our OMS we will need to create an Operations Management Suite (OMS) Workspace.
1. Open up a web browser and head to: https://azure.microsoft.com/en-us/features/azure-portal/

2. Sign in to your Microsoft Azure by first entering either your Email, phone or Skype, afterwards enter your password and then click Sign in.

3. We should now be seeing your Microsoft Azure dashboard.

4. In the upper left corner, click on Resource Group
5. The Resource groups will now open up.

6. Now in the upper corner of Resource groups click on +Add.
7. We will now see a window for creating an empty resource group.

8. Enter a name for your resource group, then choose your subscription and finally choose the region where you want it located.

9. Now click on Create to create our resource group.

10. Now if you hit Refresh (F5) you should see your resource group in Microsoft Azure.

11. Now that we have the resource group done, let's select our newly created resource group, you will see an overview of the resource group and also a long list of different options.

12. In the list under Monitoring click on Log analytics (OMS).

13. We will now start creating a OMS Workspace, click on Create solution.
14. We will be taken to a Management Tools window.

15. Now look for Log Analytics and then select it.

16. A Log Analytics window will open up.

17. Let's start creating our Log Analytics by clicking Create.
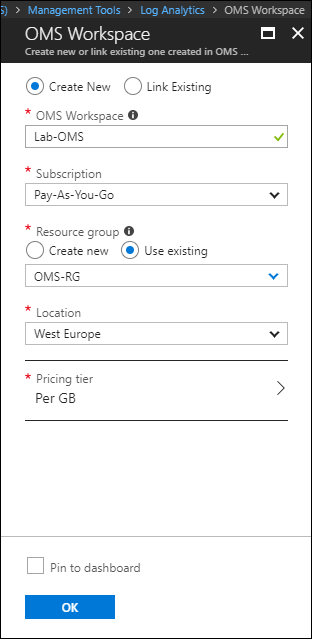
18. We will now see a window for creating a OMS Workspace.

19. Since this is a new OMS Workspace we will have the Create New checkbox checked, enter a name for your OMS Workspace, then select your subscription, then select the resource group that we previously created, then select a location where you want your OMS Workspace to be located and finally select the Pricing tier.
Note: In this guide we will go with the default pricing tier Per GB.
20. Once done, click to finish creating your Log Analytics.
21. The Log Analytics will now be created.


22. Once the Log Analytics has been created you will see a Deployment succeeded window.

Now that we have everything that we need created in Microsoft Azure, we can continue with setting up the integration to OMS in the SCOM Operations Manager console.
Setting up the integration in SCOM
We will go through how to integrate SCOM with OMS step-by-step by doing everything within the SCOM Operations Manager console.
Start your Operations Manager console and head to Administration.

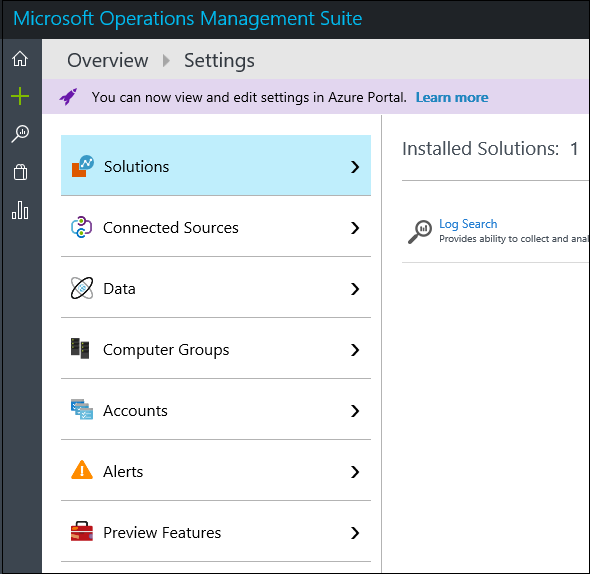
2. Under your Administration select Operations Management Suite.

3. Now expand Operations Management Suite and select Connection.

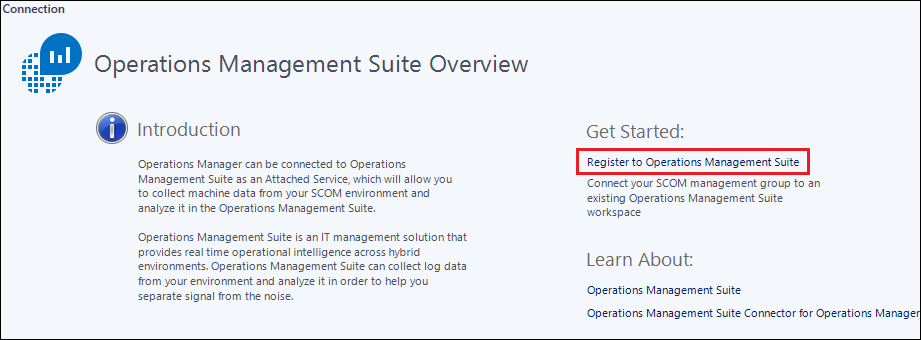
4. On your right side you will see a Get Startedtext, under it you will find Register to Operations Management Suite, click on it to start the registration.
5. A new Register to Operations Management Suite window should open up.

6. Enter your Microsoft Azure login.

7. Then enter your password and click Sign in.

8. Next up a window will open, where we can select our Operations Management Suite Workspace, under Select Operations Management Suite Workspace select the workspace that we created previously in Microsoft Azure, in my case Lab-OMS.

9. Once we have selected our OMS Workspace, click Next to continue.
10. Finally we will receive a confirmation window telling us what Microsoft Account we're using and also what OMS Workspace we've chosen, click Create to finalize the registration to the Operations Management Suite (OMS).


11. Once the registration is complete, click Close to finish.

12. Let's now go to check the status of our integration by going to the Monitoring pane in the SCOM Operations Manager console.

13. Now select the Operations Management Suite folder in the left menu

14. Expand Operations Management Suite folder and go to Health State.

15. Now we can see that our SCOM management server has been successfully integrated and is in a healthy state.
16. To finish we will also check how it looks like in the Microsoft Azure Portal, open up a web browser and head to https://portal.azure.com/

17. Now click on All Resources
18. You should now see all your items that you have in Microsoft Azure, click on the Log Analytics item that we created in the beginning of this guide, in my case Lab-OMS.

19. We will now have an overview over our OMS Workspace, in the middle of our screen we can find the OMS Portal, click on it to access it.

20. A new web browser tab will open and we will be redirected to our Microsoft Operations Management Suite portal.
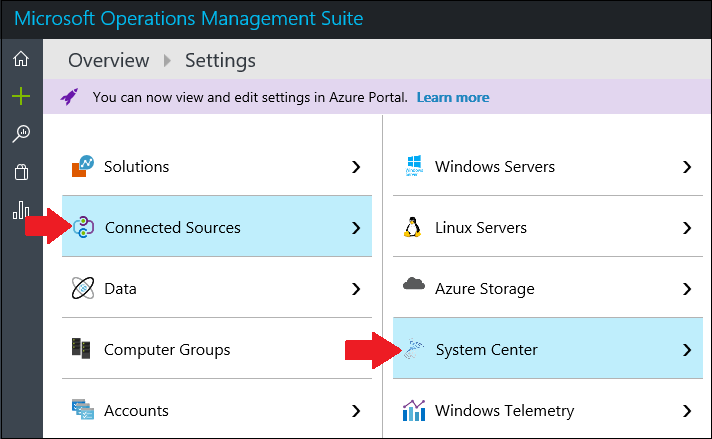
21. Now click on Connected Sources and then choose System Center.
22. On the left we should now see our SCOM management group listed.

We have now successfully integrated SCOM to our OMS!