Installing SCOM 2019 on Windows Server 2019 Server Core

In this blog post we will go through step-by-step on how to install a SCOM 2019 management server on Windows Server 2019 Core (without Desktop Experience).
1. Introduction
Server Core is an option for the Windows Server operating system that offers no graphical user interface (GUI), it has become increasingly popular to install Windows Servers without a GUI as it provides more security, mainly because of no GUI and lack of roles and features installed, we may simply call it a stripped Windows Server version.
It has been possible to install some Operations Manager components on Windows Server Server Core since the release of SCOM 2016, the table below shows which SCOM 2016 and SCOM 2019 components can be installed on Windows Server 2016/2019 Server Core:

From the table above, we can see that there are three (3) different SCOM components on Windows Server 2016/2019 Server Core:
Management Server
Gateway Server
Operations Console
2. Prerequisites
2.1 Management Server / Gateway Server
Operating System: Operating System requirements for SCOM 2016 and SCOM 2019.
Windows PowerShell version: Windows PowerShell version 2.0, or Windows PowerShell version 3.0.
Windows Remote Management: Windows Remote Management must be enabled for the management server.
NET Framework version: .NET Framework 4 or .NET Framework 4.5 is required.
2.2 Operations Console
Operating System: Operating System requirements for SCOM 2016 and SCOM 2019.
Windows PowerShell version: Windows PowerShell version 2.0, or Windows PowerShell version 3.0.
3. Installing the Management Server
There is only one way to install the management server feature on a Server Core, and that is by installing it from the command-line. Previously I have written a blog post on how to successfully install SCOM 2019 from the command-line, you'll find the post here.
Let's get started!
1. Log on to the Windows Server 2019 Server Core computer.
2. Locate the SCOM 2019 installation media, it can be either copied locally to the server or it can also be located on a remote server.

In this example, the SCOM 2019 installation media has been extracted locally to the Windows Server 2019 Server Core computer.
3. Next we simply run the installation of the management server component by running the following command:
setup.exe /silent /install /components:OMServer /ManagementGroupName:"Dev-MG01" /SqlServerInstance:"WINSRV2016\SCOM" /SqlInstancePort:50013 /DatabaseName:OperationsManager /DwSqlServerInstance: "WINSRV2016\SCOM" /DwSqlInstancePort:50013 /DwDatabaseName:OperationsManagerDW /ActionAccountUser:"LAB\svc-SCOM-AA" /ActionAccountPassword:"**********" /DASAccountUser:"LAB\svc-SCOM-DAS" /DASAccountPassword:"**********" /DataReaderUser:"LAB\svc-SCOM-DataReader" /DataReaderPassword:"**********" /DataWriterUser:"LAB\svc-SCOM-DataWriter" /DataWriterPassword:"**********" /EnableErrorReporting:Never /SendCEIPReports:0 /UseMicrosoftUpdate:0 /AcceptEndUserLicenseAgreement:1
4. How do we know the installation is complete? The best way is to check the OpsMgrSetupWizard.log which can be found at %LocalAppData%\SCOM\LOGS\
We may open it as follows:
Notepad %LocalAppData%\SCOM\LOGS\OpsMgrSetupWizard.log

5. We should then see the OpsMgrSetupWizard log opened in a Notepad:
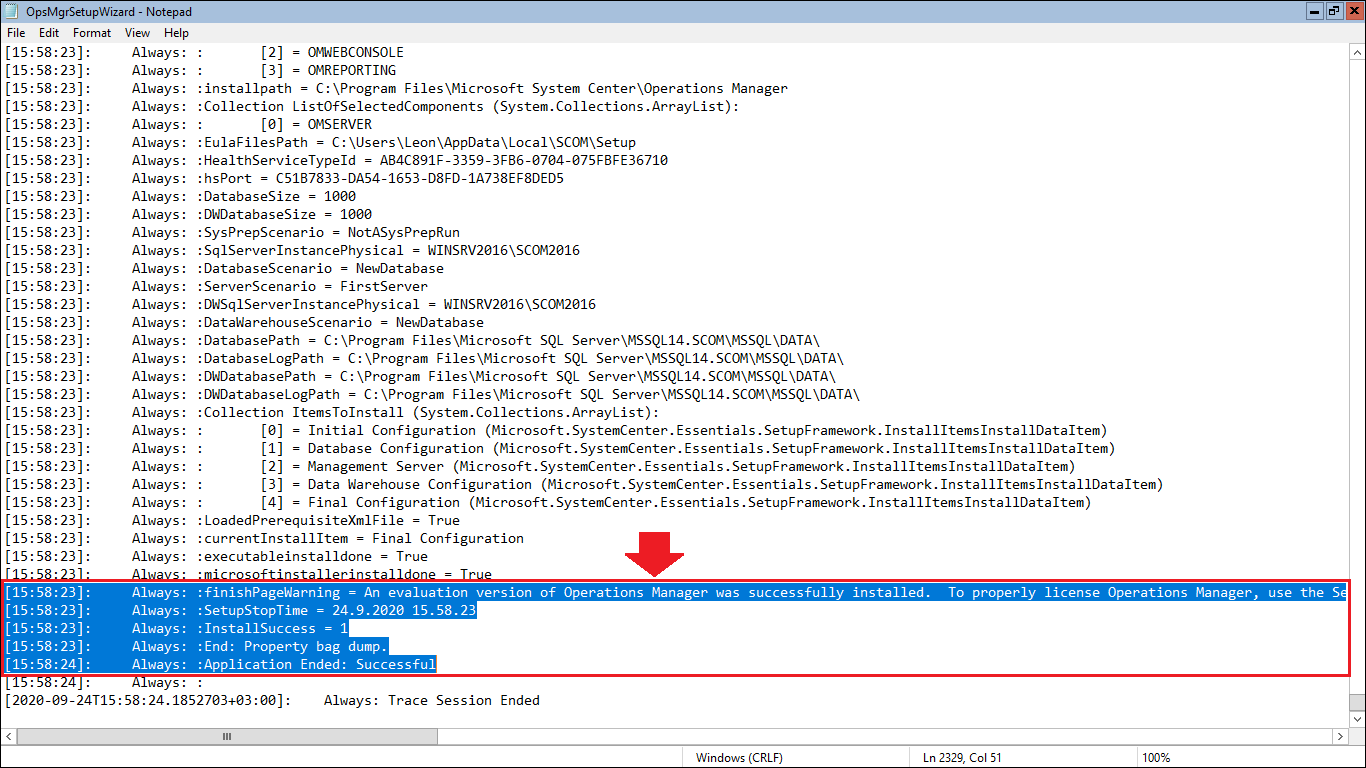
The most important line is the following: InstallSuccess = 1
6. Once the management server component has been installed, we can also verify that the SCOM services are running, easiest is to check this with the following PowerShell command:
Get-Service | Where-Object {$_.DisplayName -like "System Center*"} | Select Status, DisplayName
We can now feel confident that our SCOM management server has been successfully installed on our Windows Server 2019 Server Core!
4. Installing the Operations Console
As with the management server, the Operations Console will also have to be installed from the command-line.
1. Log on to the Windows Server 2019 Server Core computer.
2. Make sure to download the two (2) prerequisites for the Operations Console:
3. Time to install the prerequisites for the Operations Console:
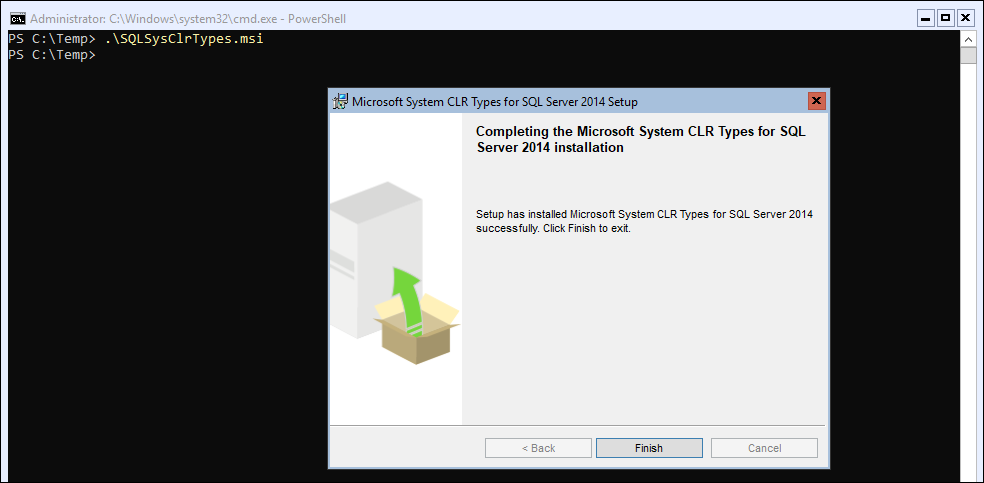
3.1 Install the Microsoft System CLR Types for Microsoft SQL Server 2014:

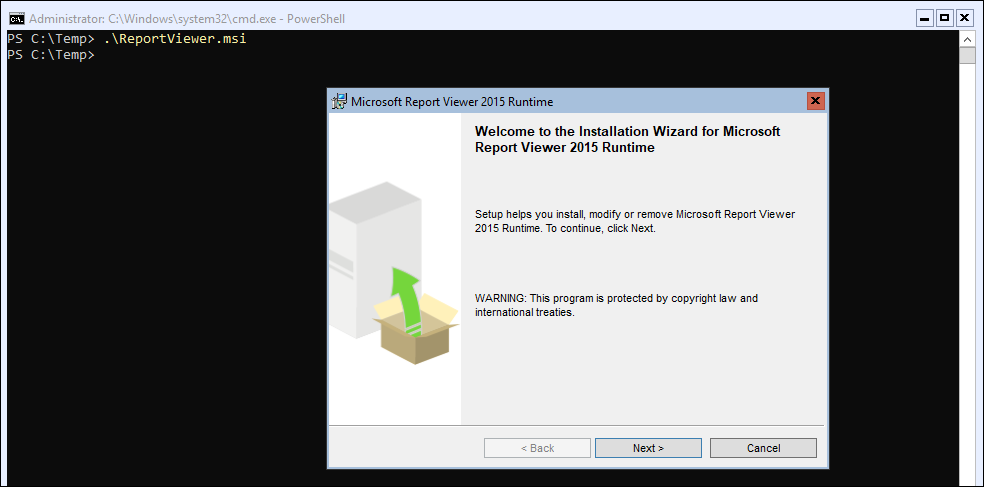
3.2 Install the Microsoft Report Viewer 2015 runtime:

4. Once the prerequisites have been installed locate the SCOM 2019 installation media, it can be either copied locally to the server or it can also be located on a remote server.
5. Then we finally run the installation command from the command-line:
setup.exe /silent /install /components:OMConsole /EnableErrorReporting:Never /SendCEIPReports:0 /UseMicrosoftUpdate:0 /AcceptEndUserLicenseAgreement:1

6. To verify if the Operations Console has been successfully installed, we may check the OMConsole.log installation log, found over here %LocalAppData%\SCOM\LOGS\
Notepad %LocalAppData%\SCOM\LOGS\OMConsole.log

The important lines are marked within the red border in the above image. Before the we can have a fully functional Operations Console running on a Windows Server 2016/2019 Server Core, we must install the Features on Demand (FOD), as mentioned in the prerequisites table at the prerequisites section.
If we attempt to open the Operations Console without FOD, we will see the Operations Console initializing for a short moment, but closing quickly after:

We will however see two (2) errors in the Application event log on the Windows Server 2019 Server Core server:


To sum it up, the Operations Console won't open/launch because we have not installed the Windows Server Features on Demand (FOD).
Update 12-30-2020
Microsoft has stopped supporting the Operations Console on Windows Server Core.
5. Installing the Features on Demand (FOD)
We will now go through on how to install the Features on Demand (FOD) on a Windows Server 2019 Server Core.
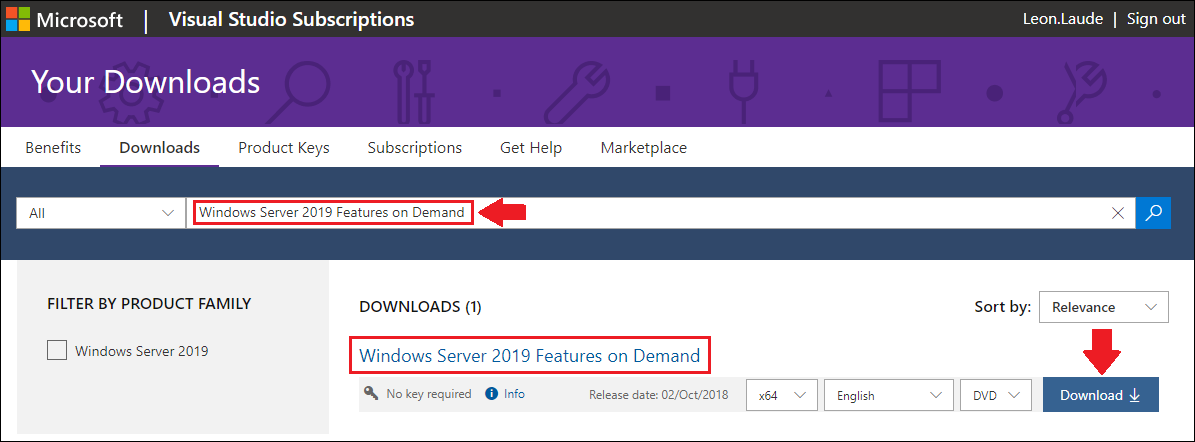
1. First we will need to download the Windows Server 2019 Features on Demand ISO file, this can be downloaded from a Visual Studio /Volume Licensing Service Center subscription.
2. Once downloaded, either mount the Windows Sever 2019 Features on Demand ISO to the Windows Server 2019 Server Core server, or extract the ISO to a local folder on the Windows Server 2019 Server Core server.
In this example we will mount the ISO to our Hyper-V virtual machine:

3. Log on to the Windows Server 2019 Server Core computer.
4. The Windows Server 2019 Features on Demand ISO contains many capabilities, the capability what we are interested in is the following one:
ServerCore.AppCompatibility~~~~0.0.1.0
To install this capability, we will run the following DISM command:
DISM /Online /Add-Capability /CapabilityName:"ServerCore.AppCompatibility~~~~0.0.1.0" /Source:D: /LimitAccess
The Source parameter needs to be the drive letter of the mounted Windows Server 2019 Features on Demand ISO, or the folder of the extracted content from the ISO, in this example our ISO is mounted to D:.
Then we run the command and there will be a progress bar showing the progress of the installation:

5. Once the installation is done, press Y (for Yes) to restart the Windows Server 2019 Server Core computer.

The server will now restart automatically and apply the changes automatically.
To identify if the capability was successfully installed, we can run the following command in PowerShell:
Get-WindowsCapability -Online -Name "ServerCore*"

We have now successfully installed the Feature on Demand (FOD).
6. Accessing the Operations Console
Now that the Features on Demand (FOD) has been installed, we should be able to open and use the Operations Console.
1. Log on to the Windows Server 2019 Server Core computer.
2. Head to the folder where the executable of the Operations Console is located in, by default it is located at %ProgramFiles%\Microsoft System Center\Operations Manager\Console

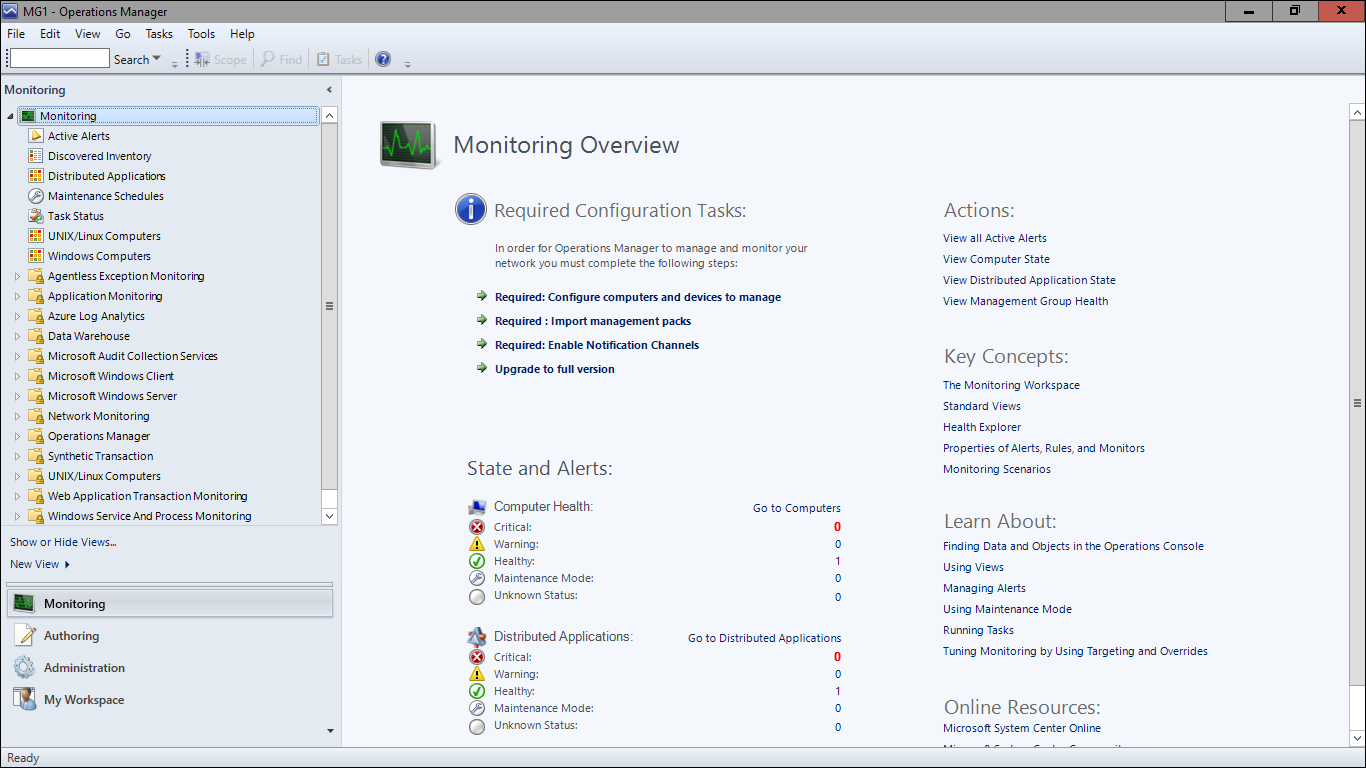
3. Now launch the Operations Console by running: Microsoft.EnterpriseManagement.Monitoring.Console.exe
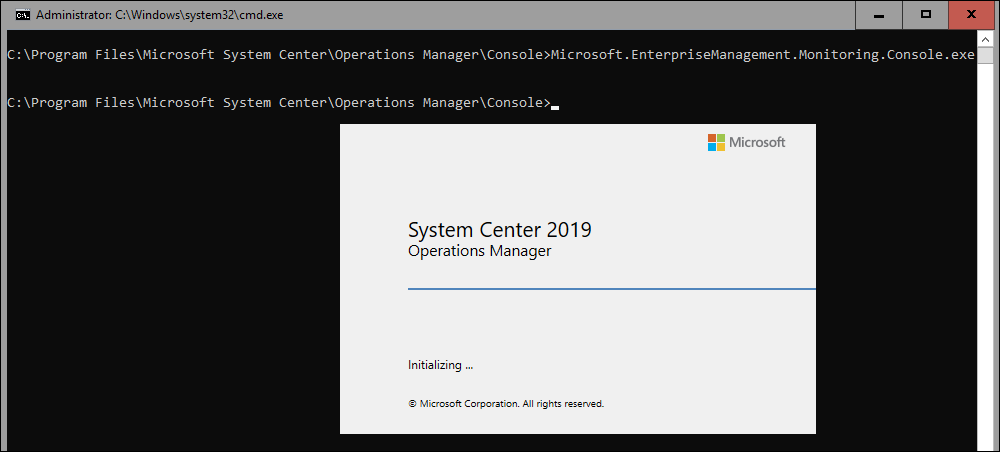
Once the Operations Console has been launched, we are ready to do some serious work!
7. Conclusion
Installing a SCOM management server or the Operations Console on a Windows Server with Server Core is not a difficult task, although it may sound difficult for those who are not used to the command-line. Installing a SCOM management server on a Server Core greatly improves the security of the whole SCOM management group, it is something to consider nowadays as there are more and more cyber attacks going on.
For the future, we can only hope that we will be able to install more SCOM components on Server Core, as Server Core itself also becomes more and more common.
As of today SQL Server Reporting Services (SSRS) is not supported on Server Core, so this component might be far away from being supported, but never give up hope! IIS, however, is officially supported but SCOM's Web Console is not yet supported for Server Core, finally, we only have the ACS Collector which is not yet supported on Server Core.