Monitoring a specific Windows Event with SCOM
SCOM is a vaguely used monitoring software in both smaller and big enterprises.Many bigger software companies create their own Management Packs for SCOM, to make monitoring easier.
You will have to manually create monitoring objects in SCOM for any software that does not provide it's own management pack.
This step-by-step guide will show you how to easily monitor a Windows event based on the event ID.
In this example, we have a software called Veritas Enterprise Vault and we want to monitor whenever a specific Windows event ID appears in the Veritas Enterprise Vault event log.
Problem description
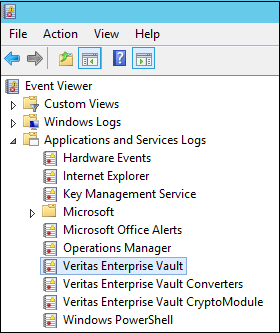
The event log that we want to monitor is called Veritas Enterprise Vault
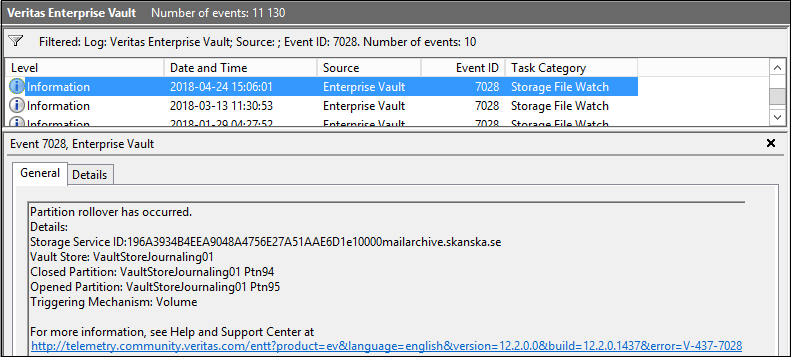
The Windows event that we want to raise an alert for has the event ID 7028 within the Veritas Enterprise Vault log.
Solution
We will need:
A monitor.
A subscription.
Create a Monitor
Open the Operations Manager console and head to the Authoring pane.

2. Then select Monitors, right click Monitors and choose Unit Monitor.

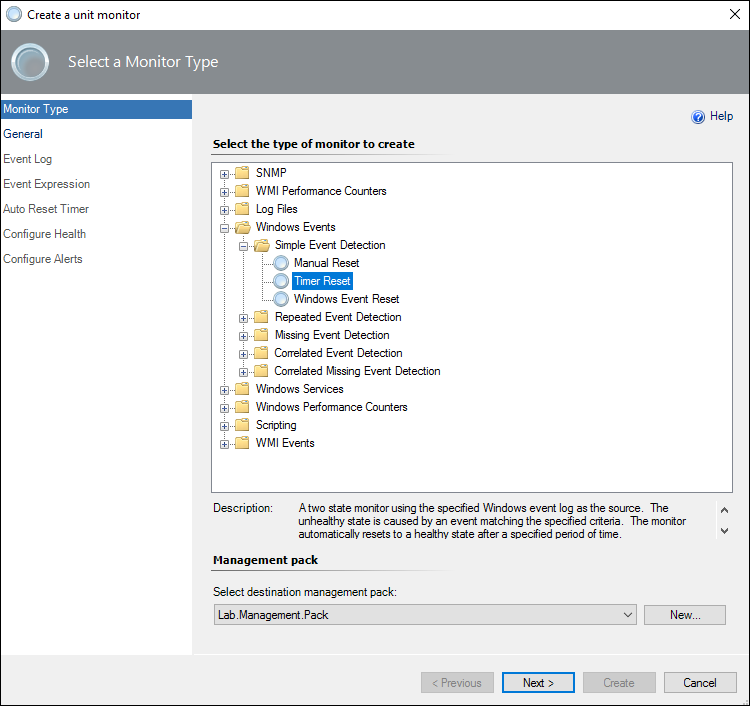
3. Next go to Windows Events, expand it and then select Simple Event Detection and now choose either Manual Reset or Timer Reset, in this guide I will go with Timer Reset.

Manual Reset
With a manual reset, the monitor never returns to a healthy state automatically. The user must determine whether the problem was corrected and then select the monitor in the Health Explorer and select Reset Health.Timer Reset
A timer reset acts the same as a manual reset except that if the user does not manually reset the monitor after a specified time, it will reset automatically.
Windows Event Reset
With event reset, the monitor is reset when a single occurrence of a specific event is detected. The event must be the same type as the event used for detecting the error condition.
4. Select the destination management pack you want this monitor to be saved to and then press Next to continue.
5. Assign a name for your new monitor, in my case I've named it "Partition rollover has occured" and write a short description, after that select the monitor target, in my case the Veritas Enterprise Vault software is installed on Windows Server 2012 servers so I will choose Windows Server 2012 Full Computer, then press Next to continue.

6. In the following step you will choose the event log name where your software writes events, in my case it's Veritas Enterprise Vault's own event log called "Enterprise Vault".

If you cannot find the event log you can click on the radio button and write down the name of the server where the software is installed and then look for the event log.

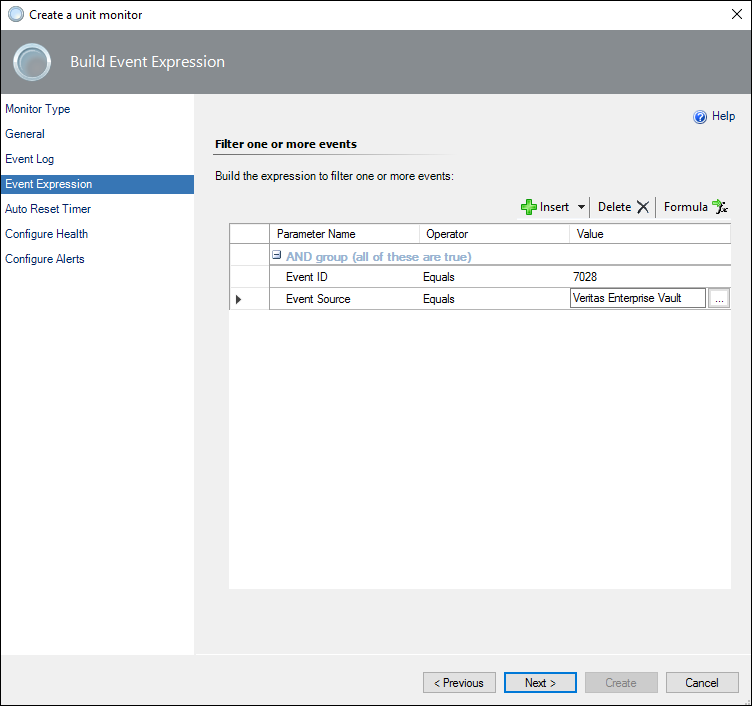
7. In the expression builder provide the Event ID you want to monitor, I would also recommended to provide the Event Source to make sure you get the right event, press Next to continue.
8. Now we will set a timer when the alarms should be reset, check if this monitoring should follow any SLA, press Next to continue.

9. Next up we will set the health conditions for this alert, you can choose the severity for this alert, by default when an Event is Raised then the status is Warning otherwise the status will be Healthy , to continue click Next.

10. In the last step we will need to activate the alerting whenever an event is created, check the box for Generate Alerts for this Monitor and then finish up by clicking Create.

Create a Subscription
If you don't already have a subscription, create one or create a separate subscription just for this alert.
Open the Operations Manager console and head to the Administration pane.

2. Select Notifications, right click Subscriptions and choose New subscription...

3. Give your new subscription a name and a description, press Next to continue.

4. Next in the Conditions choose Created by Specific rules or Monitors and below in the Criteria description click on specific which will open up a new window where you will need to search for the monitor you created previously and Add it, continue by pressing OK.

5. Your criteria window should now look similar to the image below, press Next to continue.

6. Now we are going to add who is going to receive these alerts, if you haven't created any recipients click New... if you already have the recipients then click Add...
In my guide, I will add an e-mail recipient by clicking Add...
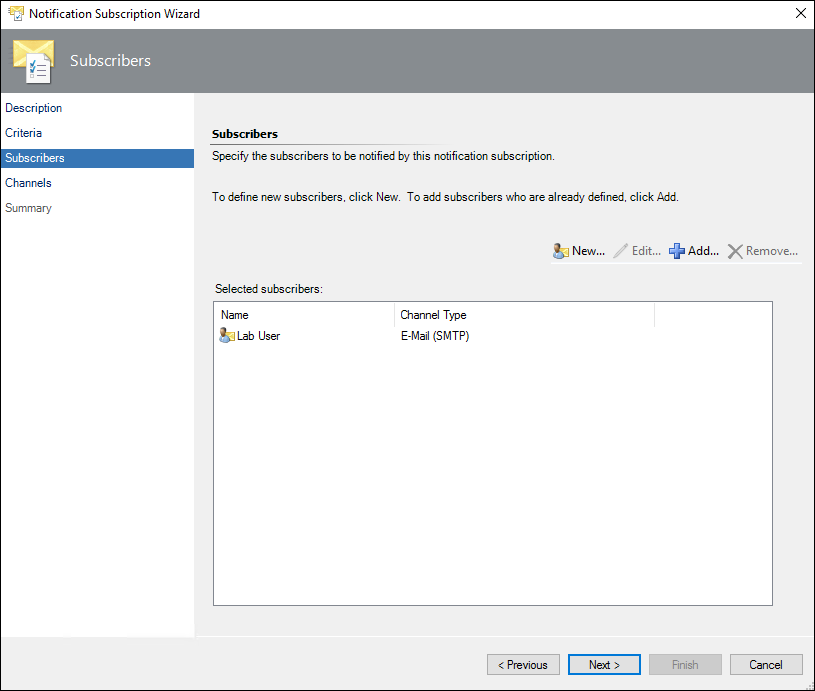
7. A new window will open and you can then click Search to find all your available recipients, then finally select the ones you want

8. Your wizard should now look similar to the image below, continue by clicking Next.
9. In the next step you will need to choose what channel type you want to use for sending the alerts (E-mail / SMS / IM / Command).
10. If you don't have any subscriber channels you can create a new one by clicking New... if you already have one click Add... In this guide I will add one.
11. Click Add... to add a subscriber channel, a new window will open and you can click Search to find all your subscriber channels, choose the subscriber channel you want and add it by clicking Add and then finish by clicking OK.

12. Your wizard should now look something similar to the image below, to continue click Next.

13. Now you should see a summary of your subscription, if you want this subscription to be activated leave the Enable this notification subscription check box checked, finish up by clicking Finish.

You have now successfully created a monitor and a subscription!
Now if an event with the event ID that you configured in the monitor appears in the Windows event log of a Windows Server that you are monitoring, your subscriber recipient(s) should receive an alarm notification.